Create your own special characters in Windows XP
If you’ve ever wanted to create your own font or maybe just a special character — for example, a character showing your initials for when you wish to approve documents with your “signature” — you can easily create your own special characters using a hidden Windows XP tool called the Private Character Editor. Here’s how:
1. Press [Windows]R to open the Run dialog box.
2. Type eudcedit in the Open text box and click OK.

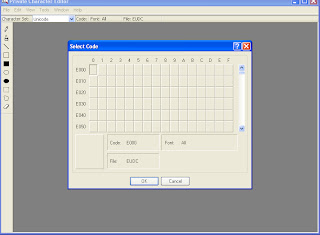
3. When the Private Character Editor launches, you’ll see the Select Code dialog
box. Click OK.

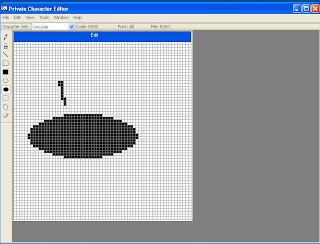
4. A user interface that looks and works very much like Paint will appear. From
this, you may use standard tools to create your characters.

5. When you finish, select the Save Character command on the Edit menu
Once you save your new character, you can access it using the Character Map tool. Here’s how:
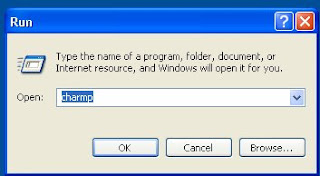
1. Press [Windows]R to open the Run dialog box.

2. Type charmap in the Open text box and click OK.
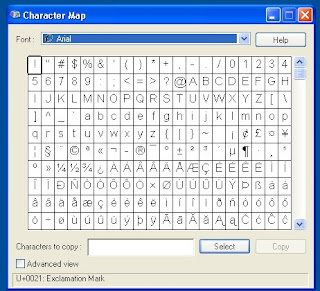
3. When the Character Map appears, select the Font drop-down list and select All
Fonts (Private Characters).

4. Select your character, click the Select button, and then click the Copy button.
You can now paste your font character in any document that you want.

No comments:
Post a Comment